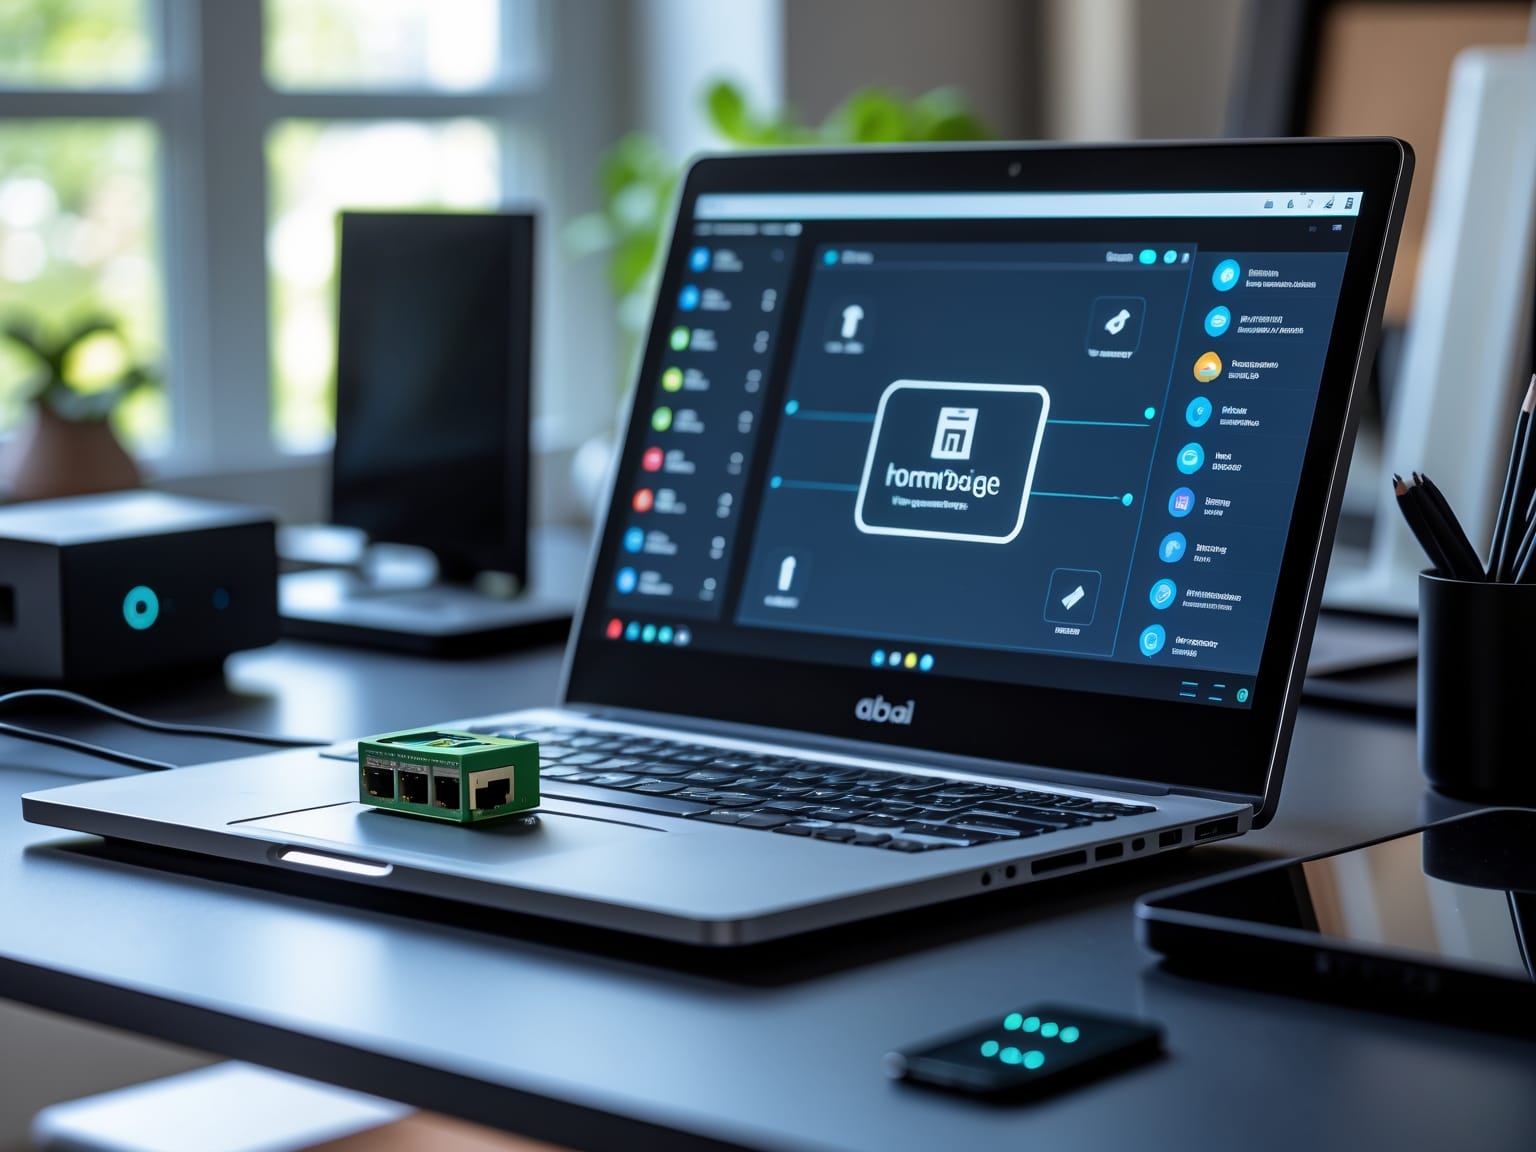
Homebridge is an essential tool for those looking to unify their smart home devices under a single platform. With Homebridge, you can integrate and control various devices using Apple’s HomeKit framework, even if they are not natively compatible. By providing a bridge between non-HomeKit devices and Apple’s ecosystem, Homebridge simplifies the smart home experience, offering convenience and enhanced control. This guide will help you navigate and utilize Homebridge effectively, ensuring seamless device integration and management.
Understanding Homebridge
Homebridge acts as a powerful bridge between non-HomeKit devices and Apple’s HomeKit, enabling users to seamlessly incorporate a vast array of smart gadgets into Apple’s ecosystem. It works by utilizing plugins—small pieces of software specifically designed to allow communication between HomeKit and unsupported smart devices. This intermediary function expands the universe of devices you can control with HomeKit, such as light bulbs, thermostats, and security systems, regardless of the manufacturer’s native support for Apple’s framework. Homebridge runs on minimal hardware, making it accessible on platforms from a Raspberry Pi to more robust systems, which in turn makes it an incredibly versatile tool for smart home integration.
Homebridge is compatible with a wide variety of devices, encompassing not only those traditionally left out of the Apple ecosystem but also new gadgets continually released by manufacturers. Compatibility is one key reason for Homebridge’s popularity, as it unifies disparate devices—from budget-friendly brands to high-end smart home solutions—under one control interface. This capability results in a truly cohesive smart home experience, eliminating the need for juggling multiple apps or relying on each manufacturer’s platform separately.
The benefits of Homebridge become clear when compared to traditional smart home setups. By offering a single, centralized control point, it enhances user convenience and provides an integrated experience that many standalone devices simply cannot offer on their own. Moreover, by simplifying device management, Homebridge allows users to automate tasks and routines more efficiently, ultimately making their smart homes not just connected but intelligent.
As you prepare to integrate Homebridge into your smart home, understanding how to set it up will be the next crucial step to unleash its full potential.
Setting Up Homebridge
Homebridge is a versatile tool for integrating various smart home devices into a single cohesive system. Setting up Homebridge might seem intimidating at first, especially after understanding its capabilities, but with the right guidance, it becomes a straightforward task. To begin, you’ll need a few pieces of equipment and software. Essential items include a computer with internet connectivity, ideally a Raspberry Pi or any system capable of running Node.js, which is the platform that supports Homebridge. Additionally, ensure you have access to the terminal on your device for executing commands.
The installation process starts with the installation of Node.js and npm, which are prerequisites for running Homebridge. Once these are in place, Homebridge can be installed via npm using the command: `npm install -g homebridge`. This command will download and set up Homebridge globally on your system, making it accessible from anywhere on your machine.
Inevitably, setup hiccups may occur. Commonly encountered issues include network configuration problems and compatibility errors with certain plugins. It’s crucial to verify that your firewall settings allow connections needed by Homebridge and that your device meets the system requirements. If you experience trouble, restarting the installation or consulting Homebridge’s extensive online community can provide the necessary support.
Having successfully installed Homebridge, you are ready to explore its full potential by connecting your devices seamlessly. In the following section, we will delve deeper into the exciting world of integrating your various gadgets with Homebridge, enhancing the smart home experience dramatically.
Integrating Devices with Homebridge
Homebridge acts as a powerful bridge between non-HomeKit devices and your Apple smart home setup. Setting up Homebridge is just the beginning; the true excitement starts when you begin integrating devices to expand your smart home capabilities. The process begins with understanding which devices you want to add, ensuring they can operate within the Homebridge ecosystem.
To add new devices, start by identifying compatible plugins. Homebridge relies heavily on these plugins, which function as mini-conduits that allow communication between your devices and Apple’s HomeKit. There are thousands of plugins available, covering a wide range of devices from lights and thermostats to sensors and cameras. Typically, you can install a plugin through the Homebridge UI by searching for the device you want to integrate and following the installation instructions. Once the plugin is installed, configure it with the necessary credentials or device identifiers, allowing Homebridge to communicate seamlessly with your devices.
Consider the functionality of each plugin, as they offer specific capabilities for the devices they support. Some plugins provide basic on/off control, while others offer advanced features like custom automation or status feedback. For example, integrating a smart thermostat often includes options to adjust temperature, set schedules, and monitor energy usage, all accessible through your HomeKit app.
Successfully integrated devices demonstrate the flexibility of Homebridge. A popular example is adding a non-HomeKit smart bulb to your system, allowing control through Siri commands or automations within the Home app. Similarly, connecting a fan using a simple, compatible plugin can significantly enhance comfort and convenience.
As you delve into the world of Homebridge, the variety of plugins becomes a treasure trove of potential. With your devices now integrated, you’re ready to explore more about Homebridge plugins in the next segment, where we’ll discuss how they can further optimize and personalize your smart home setup.
Homebridge Plugins
Homebridge’s capability to integrate seamlessly with various devices is greatly enhanced by its vast library of plugins, which are essential for expanding its functionality. These plugins act like mini-applications, each designed to enable Homebridge to communicate with a specific device or service in your smart home ecosystem. Recognizing the importance of these plugins, it’s essential to explore the types available and how effective they are in utility and installation.
One of the most popular plugins is Homebridge-Hue, which allows users to control Philips Hue lights from their HomeKit-enabled devices. This plugin facilitates seamless interaction with Hue bulbs and bridges, turning simple lighting into a complex, controllable system. Another frequently used plugin is Homebridge-Ring, which enables integration with Ring doorbells and security cameras. This plugin provides real-time notifications and access to camera feeds from HomeKit, enhancing the security features of your smart home.
Installing and configuring Homebridge plugins is straightforward. Users start by identifying the required plugin, which can be easily located in the Homebridge UI or through the npm repository. Once identified, a simple command line installation or a click in the Homebridge UI sets things in motion. Configuration involves editing the Homebridge config.json file or using the UI to input necessary credentials and settings unique to the plugin.
To optimize plugin performance, one should regularly update plugins to their latest versions, ensuring compatibility and security enhancements are in place. It’s also recommended to carefully manage resource usage by disabling unused plugins to maintain system efficiency and stability.
Moving towards streamlined security and robust maintenance practices ensures that your Homebridge setup remains effective and efficient, providing peace of mind in your smart home integration journey.
Security and Maintenance
Homebridge offers a powerful way to connect and control various smart home devices seamlessly. As you explore the multitude of plugins available, ensuring the security and efficiency of your Homebridge setup becomes paramount. Protecting your system from potential vulnerabilities starts with some simple yet effective security best practices. Always change default passwords and use strong, complex passwords unique to your Homebridge environment. It’s also crucial to enable two-factor authentication for an added security layer. Make sure your Homebridge interface isn’t exposed to the internet openly; instead, use secure networks and consider employing a virtual private network (VPN) for remote access.
For the ongoing maintenance of your Homebridge setup, regular attention goes a long way in ensuring that it runs smoothly and efficiently. Periodically check the status of your plugins and remove any that are outdated or no longer in use. Keep an eye on your server’s performance metrics to spot any unusual activity. Implement a regular backup schedule to prevent data loss and streamline restoration processes if needed.
Staying informed about updates is equally crucial. Regularly updating Homebridge and its plugins helps protect against vulnerabilities and can introduce new features that enhance your smart home experience. An updated system is less susceptible to malware and other threats, ensuring both efficiency and peace of mind. Finally, as you continue to refine your Homebridge setup, tackling common troubleshooting issues is a natural next step. Discover strategies to efficiently resolve problems and keep your smart home integration running smoothly.
Troubleshooting Homebridge
Homebridge serves as a powerful nexus for smart home devices, making compatibility issues a thing of the past. However, even the most well-guarded systems require periodic troubleshooting to maintain their integrity and efficiency, much like the security setups discussed in the previous chapter. Common issues users encounter include Homebridge not appearing in the Home app, plugins failing to load, and connectivity problems with devices. Understanding these issues is key to sustaining a seamless smart home experience.
When Homebridge does not appear in the Home app, ensure that both the Homebridge server and the device running the Home app are on the same network. Check that the Homebridge instance is running and hasn’t been interrupted. Additionally, confirm that the HomeKit accessory limit hasn’t been exceeded, as this can prevent new devices from appearing.
If plugins are failing to load, verify that they are correctly installed and compatible with your version of Homebridge. Often, updating your plugins and the Homebridge software can resolve these compatibility issues. It’s also useful to check the log files for specific error messages that can guide you toward a solution.
Connectivity problems with devices can stem from network interference or configuration errors. Ensure that your network is stable and that devices support the necessary protocols. Restarting the Homebridge server can also resolve temporary glitches.
For further assistance, communities and forums dedicated to Homebridge offer a wealth of shared knowledge. Websites like GitHub, which hosts the Homebridge project, provide documentation and active user communities where you can find help and advice. These resources are invaluable for both novice users and seasoned experts looking to optimize their smart home systems.

