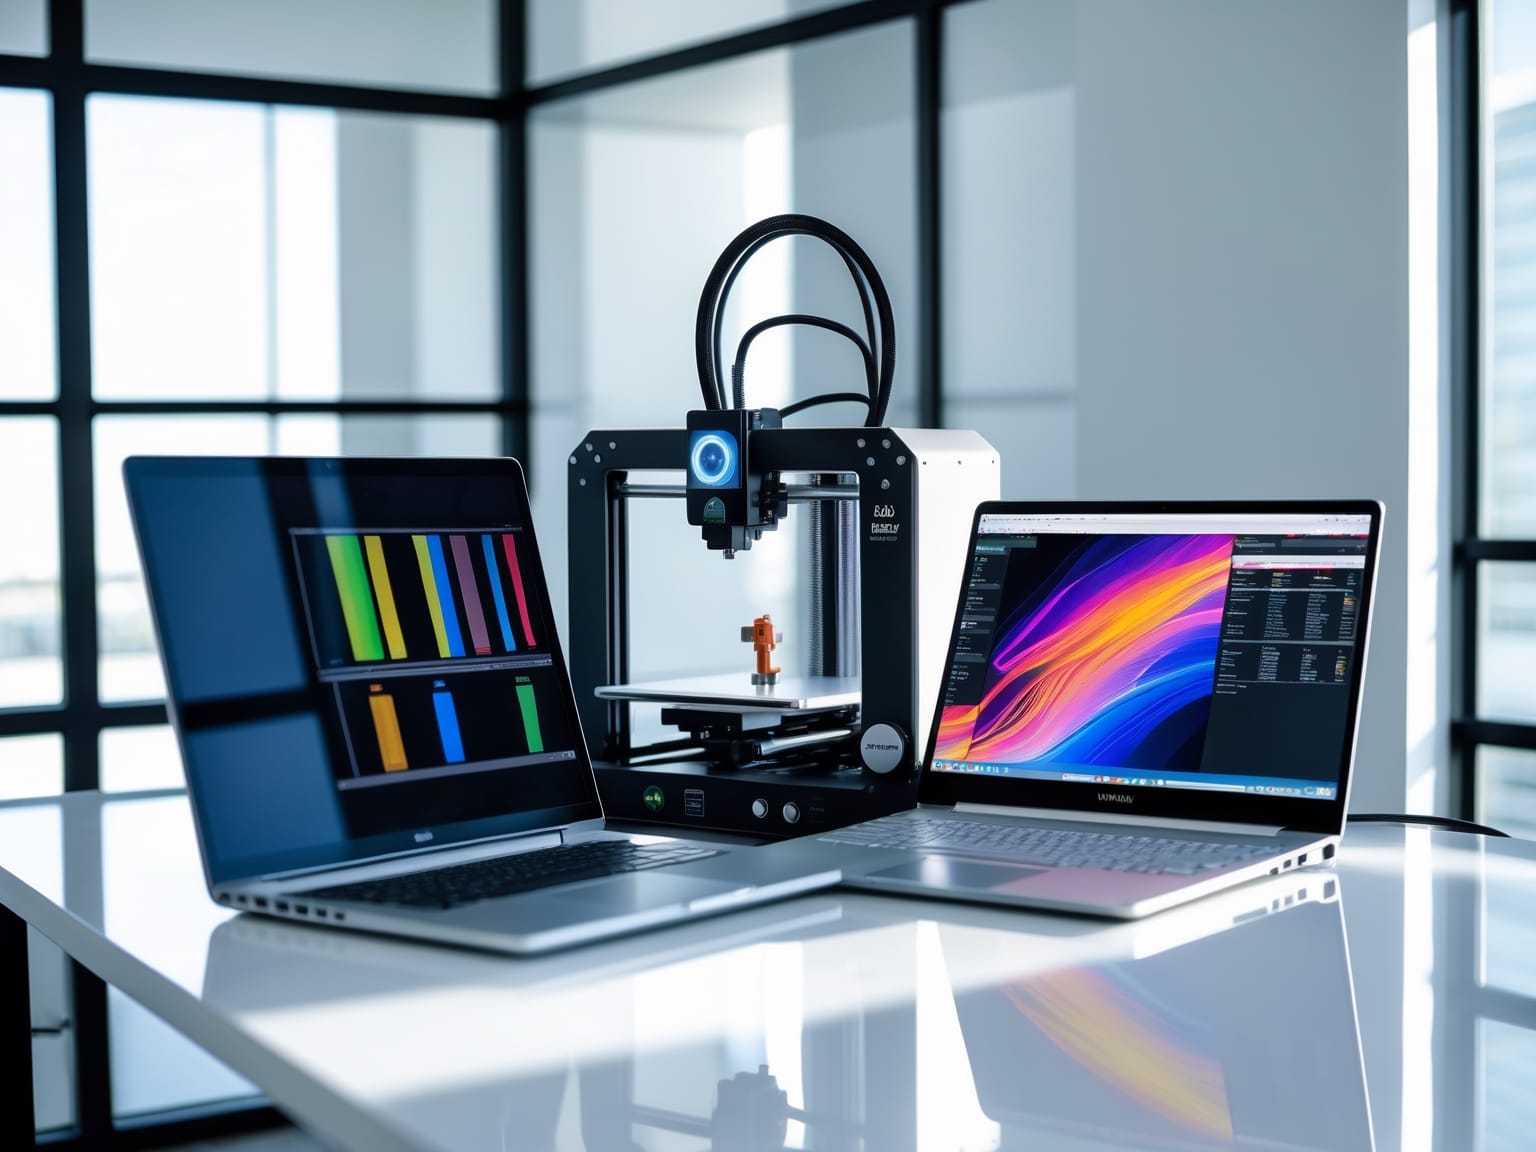
Slic3r is a powerful open-source 3D slicing software that transforms your 3D CAD files into precise G-code for 3D printing. Known for its versatility and efficiency, Slic3r enhances the capabilities of your 3D printer by allowing customizable settings to optimize print quality and speed. Whether you’re a beginner or a seasoned 3D printing enthusiast, mastering Slic3r can revolutionize your production process. In this guide, you’ll discover advanced features and best practices for getting the most out of Slic3r.
Understanding Slic3r Features
Slic3r unveils its potential by presenting users with an array of features tailored to enhance 3D printing efficiency. Central to its offerings is the capability for precise G-code generation, which provides detailed instructions that guide your 3D printer in executing highly refined tasks. By understanding the intricacies of G-code files, users can customize every print, ensuring each layer is executed perfectly to match the desired design specifications.
Another standout feature of Slic3r is the customizable infill options. Adjustable infill density allows users to optimize material consumption and reduce print times, depending on the structural requirements of the print. For example, a higher infill density might be necessary for parts that require greater strength, while lower densities can be employed for decorative items, thus saving material and time.
Support structures are also intelligently managed by Slic3r. For complex and intricate designs that make overhangs unavoidable, the software automatically generates support materials, significantly increasing the success rate of such prints. By efficiently implementing these support structures, Slic3r ensures that even the most delicate components are printed reliably and accurately.
Exploring these features of Slic3r not only provides users with powerful tools but also increases the overall success rate of 3D printing projects, whether they involve creating robust mechanical parts or delicate artistic models. With a comprehensive understanding of Slic3r’s capabilities, users are well-positioned to delve into the next crucial step – setting up a slicing profile to further customize and fine-tune their printing process.
Setting Up Your Slicing Profile
Slic3r, a powerful 3D slicing software, acts as the bridge between design and print, transforming digital models into instructions your 3D printer can understand. Setting up your Slic3r profile is a critical step in customizing your 3D printing experience for optimal results. To begin, adjusting the layer height is essential, as it directly influences the print’s resolution and speed. A finer layer height provides more detail but takes longer to print, while a thicker layer height reduces print time but can sacrifice detail. Consider what matters most for your specific project and adjust accordingly for a balanced outcome.
Next, focus on the extruder settings. These settings are pivotal in controlling the material flow, ensuring that your printer deposits just the right amount of filament to prevent over-extrusion or under-extrusion, which could lead to print failures. By properly configuring the extruder settings, you enhance the precision of material deposition, resulting in smoother and more accurate prints.
Additionally, temperature control is vital, as different filament types require specific printing temperatures to achieve the best adhesion and finish. Tailoring the temperature settings to the filament you’re using helps maintain the structural integrity and aesthetic of your prints. By carefully calibrating these parameters in Slic3r, you not only ensure consistency and quality across your projects but also unlock the full potential of your 3D printer.
As you become familiar with configuring your slicing profile, you’re set to delve deeper into optimizing print speed and quality, further enhancing your 3D printing efficiency.
Optimizing Print Speed and Quality
Slic3r serves as an invaluable tool for maximizing the efficiency and quality of your 3D printing projects. It’s essential to dive into the aspects that allow you to harness the full potential of Slic3r, ensuring your prints are not only faster but also meet high-quality standards. After setting up your slicing profile, it’s time to focus on optimizing print speed and quality to enhance your 3D printing results.
Finding the right balance in print speed is crucial. Adjusting the print speed involves determining the optimal setting that reduces print time without sacrificing quality. Increasing print speed may lead to a rougher surface finish, while slowing it down can significantly prolong print duration. Experimenting with various speeds on a small test print can reveal the ideal setting for your specific printer and filament type.
When it comes to quality settings, attention to retraction and cooling is key. Retraction adjustments manage filament flow, preventing stringing and blobs, which result in cleaner prints. Similarly, optimizing cooling settings ensures layers solidify appropriately, enhancing overall print quality. Effective cooling can fortify structures while reducing warping and other deformities.
Edge smoothing further elevates print aesthetics, offering advanced options to achieve smoother surface finishes. Techniques such as variable layer heights and adaptive infill contribute to refined results. Utilizing these features can enhance the texture of the print, making them crucial to consider during configuration.
By fine-tuning these aspects in Slic3r, you are well on your way to producing prints efficiently. Next, we’ll explore advanced Slic3r techniques that take your 3D printing capabilities to the next level, enabling you to tackle even more complex projects.
Incorporating Advanced Slic3r Techniques
Slic3r has become an essential element in boosting the efficiency of 3D printing by introducing advanced techniques that refine the entire process. Building on the previously discussed optimization of print speed and quality, incorporating advanced techniques like multi-extruder setups and variable layer heights can significantly enhance your projects. Understanding these features unlocks a new level of precision and creativity in 3D printing.
Engaging with multi-extruder configurations allows you to diversify applications by enabling multi-material and color printing. This proves invaluable when handling complex models that demand different filament types or hues to emphasize specific sections. For instance, a designer could easily print a multi-colored model with clear distinctions between components using multiple extruders. The complexity is managed by Slic3r’s advanced settings, which streamline the process, letting you focus on the creative aspects.
Another powerful feature, variable layer height, optimizes print results without prolonging print durations. With Slic3r’s adaptive methodology, the software intelligently adjusts layer heights for detailed areas, ensuring precision where it’s critical and efficiency where detail is less crucial. This means an intricate sculpture can be printed with smooth gradients in features like facial expressions while still maintaining a shorter overall printing time.
Further fine-tuning can be achieved with custom G-code commands, where specialized instructions are introduced for unique project requirements. These commands offer flexibility in managing various aspects of a print, such as temperature and speed changes during the process.
Transitioning into a more proficient printing phase with these advanced techniques, you might encounter technical challenges along the way. As we explore troubleshooting common issues next, you’ll gain valuable insights into overcoming obstacles and achieving consistent success in your 3D printing endeavors.
Troubleshooting Common Issues
Slic3r is an indispensable tool in the toolkit of both seasoned IT professionals and avid hobbyists, offering sophisticated capabilities for optimizing 3D printing efficiency. Despite its advanced features, users may occasionally encounter common issues that disrupt the printing process. Transitioning smoothly from previous topics on advanced Slic3r techniques, this section addresses strategic solutions for prevalent challenges, ensuring uninterrupted progress in your projects.
One frequent issue faced during 3D printing with Slic3r is warping. This phenomenon occurs when the edges of a print lift from the build platform, potentially ruining the model. To counter warping, adjust the heat settings appropriately to ensure even temperature distribution. Employing rafts or brims can also provide additional adhesion, preventing the edges from lifting and keeping your print intact.
Another challenge is layer shifting, where the layers of your print misalign, compromising the structure’s integrity. The root cause often lies in loose belts or inconsistent mechanical components. Make sure to secure your printer’s belts and perform regular checks on the mechanical parts for consistent tension. These steps help maintain alignment throughout the printing process.
Moreover, filament jams can halt your printing entirely. To avoid this, regularly clean your extruders and adjust the filament tension. Ensuring smooth operation through these maintenance practices significantly reduces the risk of jams, enhancing overall print reliability.
Addressing these common issues promptly not only improves the quality of your prints but also boosts efficiency, aligning perfectly with our core values of reliability and practicality. As the field of 3D printing evolves, staying informed about Slic3r developments is crucial for maintaining a competitive edge. In the upcoming chapter, explore how to keep abreast of the latest innovations and enhance your 3D printing experiences further.
Staying Updated with Slic3r Developments
Slic3r is a powerful tool for enhancing your 3D printing process, but staying updated with its developments is key to maintaining optimal performance. Slic3r updates often include new features and enhancements that can significantly improve your printing results. By keeping abreast of software upgrades, you ensure your 3D printer operates at the cutting edge of technology. These upgrades might introduce innovative options, improve existing functions, or even fix known issues, enhancing your overall printing efficiency.
Engaging with the Slic3r community can provide invaluable tips and insights. Forums and user groups are great platforms to share experiences, solve problems, and learn from others who actively use Slic3r. This collaborative environment helps you refine your techniques and stay informed about minor tweaks that can make a big difference in print quality.
Participating in beta testing is another way to stay ahead of the curve. By engaging in beta tests, you can experience upcoming features before they are officially released, providing feedback that could influence future versions of Slic3r. This involvement not only keeps you informed but also empowers you to shape the development of tools you use regularly.
Keeping updated with the latest in Slic3r ensures that you have access to the most effective tools and improvements available. This proactive approach not only optimizes your workflow but also enhances the quality and precision of your 3D prints, ultimately enriching your overall experience in 3D printing.

